What are Mockups? Mockups are a critical step in presenting your final website design in a polished, professional way. Instead of simply showing a flat screenshot, a well-crafted mockup visually communicates the functionality, responsiveness, and branding of your website across different devices. These are essential for website portfolios, Behance presentations, and design competitions like Flux AIGA.
Mockups should serve 2 purposes:
- Demonstrate responsiveness across desktop, tablet, and mobile viewports.
- Visually narrate your design’s aesthetic and functional elements without distractions.
Best Presentation Practices:
✅ Make Your Website the Hero
- The focus should be on the website itself—avoid excessive background decorations or additional design elements that compete with the mockup.
- Use subtle, neutral backgrounds to provide a clean framing rather than overwhelming the site with color or abstract shapes.
✅ Showcase Key Views Strategically
- Highlight the website’s best features instead of cramming the entire design into one image.
- Use desktop, tablet, and mobile views to demonstrate responsiveness.
- Selective Showcasing: If the site is long-scrolling, break it into sections rather than showing an overwhelming full-length view. You may not need to display the entire page. Focus on key sections that demonstrate your design’s strengths. Use your mockup to spotlight parts of your design. Draw attention to unique interactions or innovative layout solutions.
- Segmentation: If the page is too long, segment it into parts. Creating multiple mockups for different sections of the page, ensures each segment tells a part of the overall story.
✅ Maintain a Consistent Aesthetic
- Scale and align mockups consistently to create a cohesive presentation.
- Avoid large floating elements unless they serve a clear storytelling purpose.
- Ensure color, typography, and layout are in harmony with the website design itself.
✅ Reduce Unnecessary Text & Elements
- Keep project descriptions minimal—let the design speak for itself.
- Use small captions / folios or brief annotations instead of overlaying large explanatory text. Keep any folio text around 7–10px. This should be mostly visual.
- If branding elements are included, they should support the mockup rather than compete with it.
✅ Use High-Quality Mockup Templates
- Utilize realistic device mockups (MacBook, iPad, iPhone) instead of floating website screenshots.
- Contextual mockups (e.g., a laptop on a desk) add realism without distraction.
- Consider a grid-based layout if showcasing multiple images instead of overlapping or angled views.
- Layered Approach: Consider creating a composite that gives viewers a peek into various segments of your long-scrolling site.
✅ INDICATE INTERACTIVITY
- Adding interactivity cues can help users understand the functionality an UX without accessing the live site. Be subtle to ensure the indicators do not overwhelm the design. For example:
- (1) Hotspot Highlights – mark interactive areas w/ subtle highlights or a glow effect to draw attention to clickable links or buttons
- (2) Micro-interactions – show a small sequence of state changes in a series of images to represent a hover effect or dropdown selection
- (3) Overlay Text – add a brief overlay text description on mockup to explain interaction (“tap to expand”)
Common Pitfalls
| ❌ What to Avoid | ✅ Best Practice |
|---|---|
| Overdecorated backgrounds that compete with the mockup | Clean, neutral backgrounds that frame the work |
| Floating website elements that feel disconnected | Use structured mockup templates with proper device context |
| Large, unnecessary text distracting from the website | Concise, small captions or project briefs |
| Inconsistent sizing of website previews | Standardized scaling & alignment across all views |
Creating Your Mockup: Step-by-Step Guide
- Capture Your Website Screenshots
- Use a full-page screen capture plugin to get high-quality images.
- Crop sections strategically to highlight important features.
- Place in a High-Quality Mockup Template
- Choose templates that enhance your presentation rather than overwhelm it.
- Position website screenshots carefully for proper alignment.
- Refine Your Presentation
- Keep branding minimal and consistent with the website.
- Avoid excessive decoration—let the website be the hero.
- Keep any folio text around 7–10px
- Export & Save for Portfolio + Behance
- Save as high-resolution PNG or JPG.
- Ensure all mockups are named properly for easy organization.
- Upload to D2L
- Submit mockup images and QuickTime screen recordings to D2L for review.
Full Page Screen Capture Plugin
Free Resources
No need to start from scratch. I’ve provided a list of free PDF mockup resources to give you a head start. Always check the license of the mockup to ensure it’s free for personal and/or commercial use.
- https://goodmockups.com/category/website-mockup/
- https://mockuptree.com/website-mockup/
- https://speckyboy.com/free-responsive-website-mockup-template/
- http://web.cassreese.com/wp-content/uploads/2023/03/WebDesign_Mockups.psd.zip
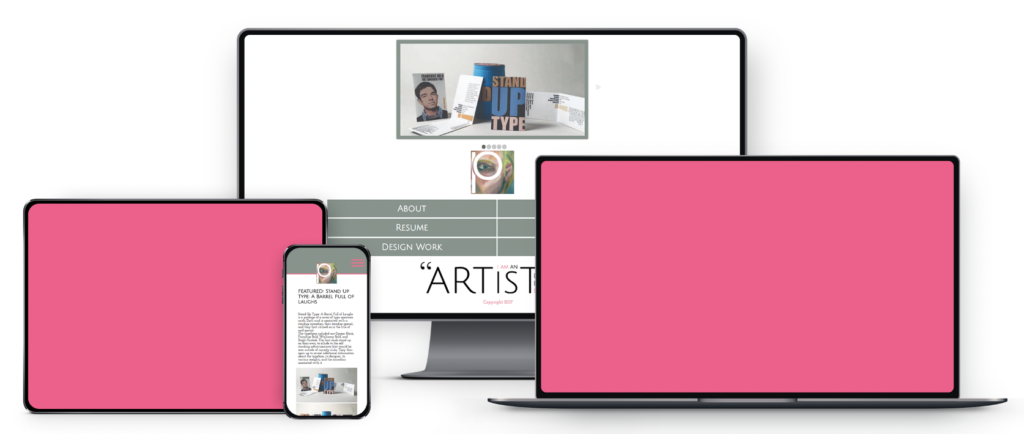
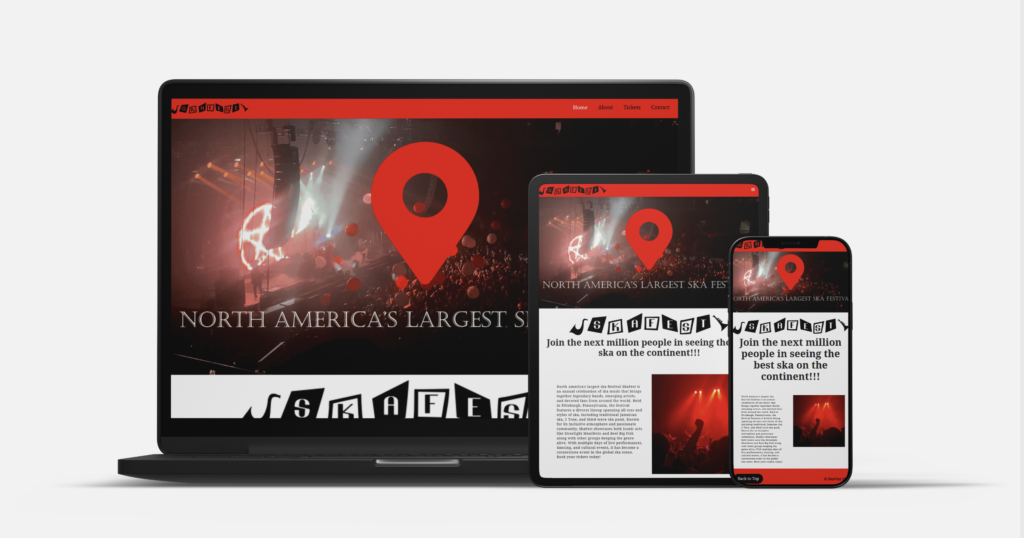
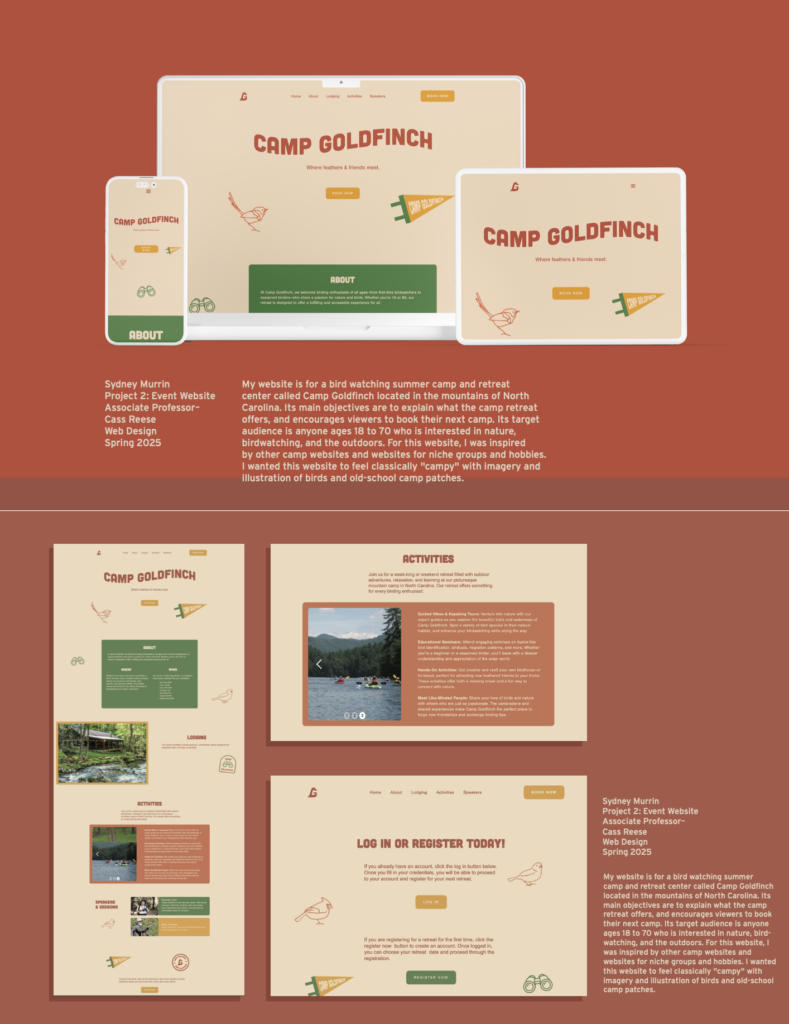
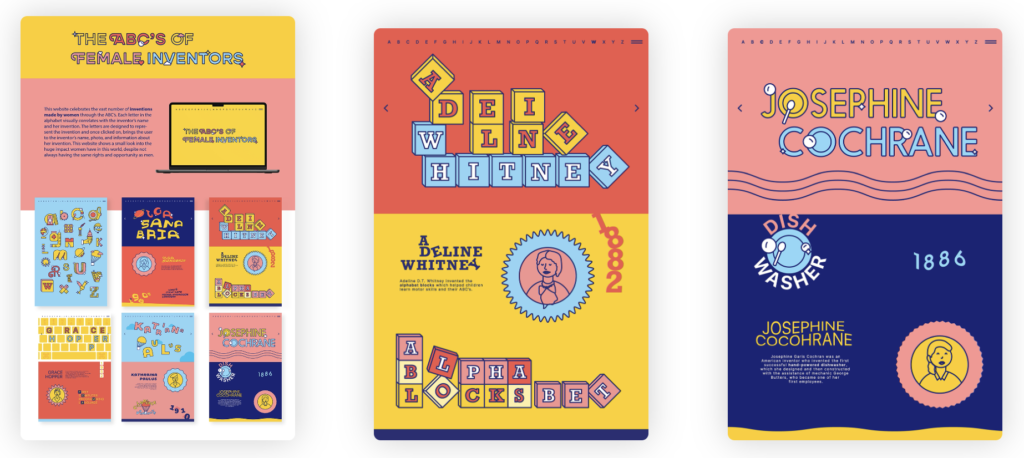
Examples:
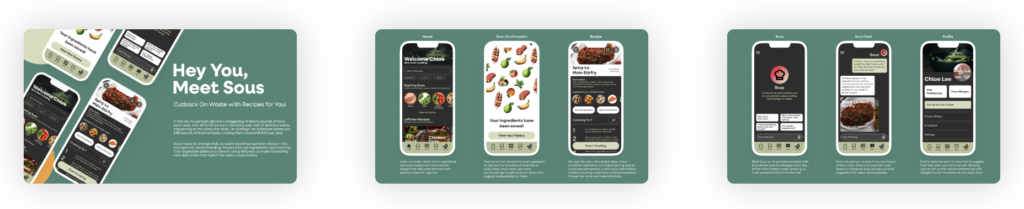
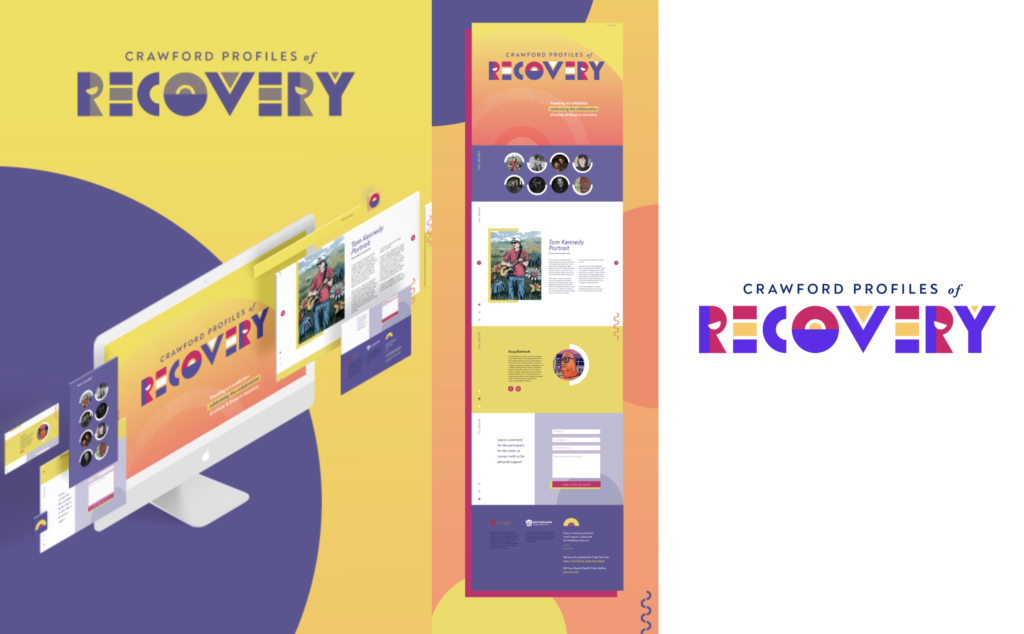
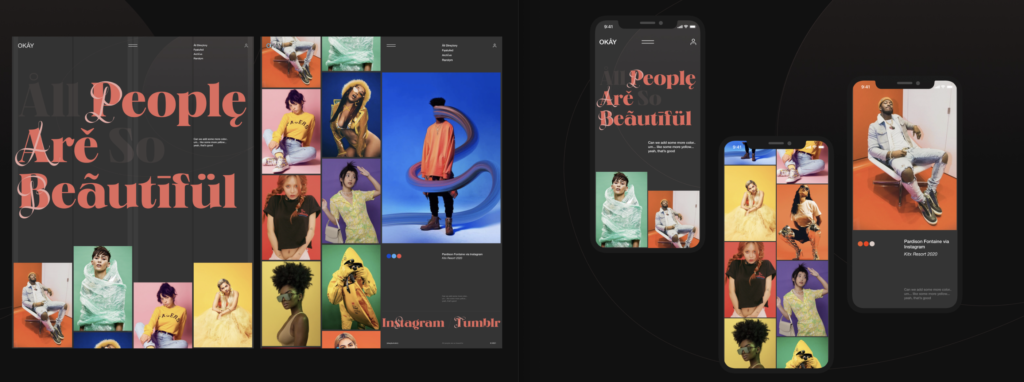
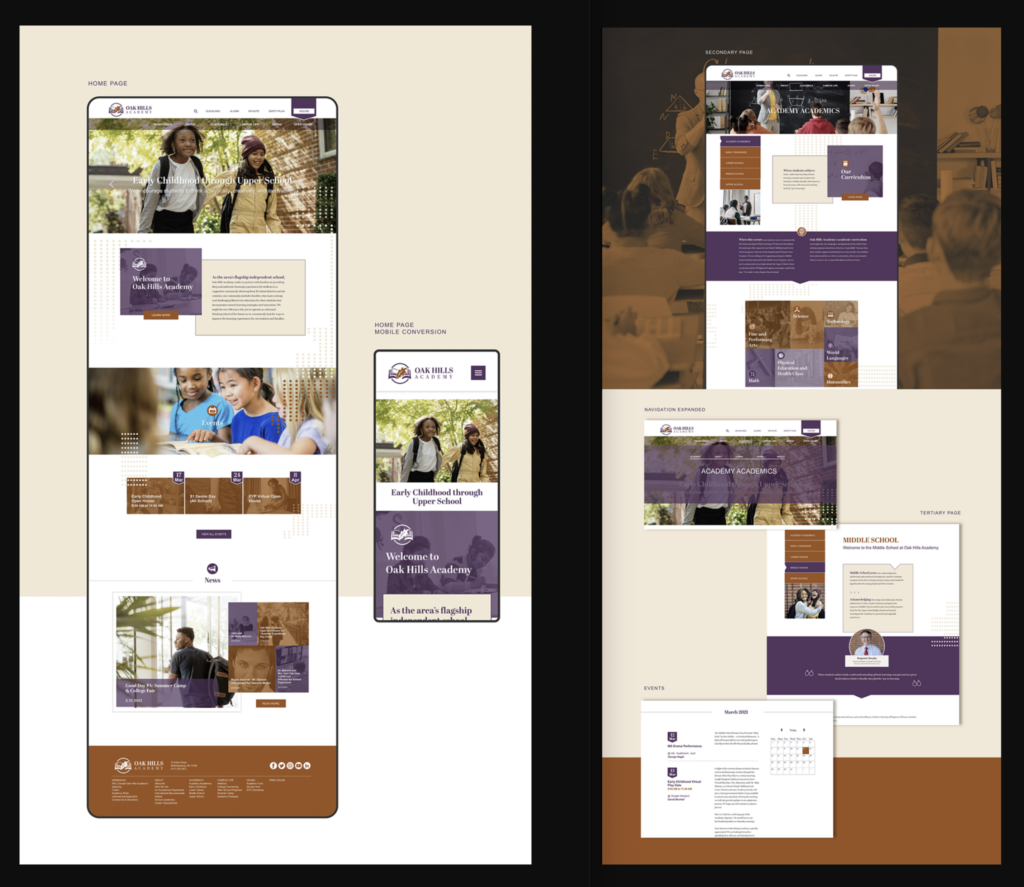


Video Recording Guide
Overview
As part of your website presentation, you will record ascreen recording of your website (desktop version) to showcase its design and functionality.
To ensure uniformity, follow these steps to keep all videos the same aspect ratio and resolution.
Step 1: Preparing Your Webflow Site
Before recording, ensure your site is displayed cleanly, without any Webflow tools or UI panels:
- Option 1: Click the Play Button (top left) in Webflow to preview your site and hide the editor panels.
- Option 2: Publish your site and open it in a new tab.
💡 Your video should ONLY show your website—no extra Webflow tools, tabs, or UI elements.
Step 2: Resize Your Browser Window for Recording
To ensure a uniform video size, manually adjust your browser window to be wider than it is tall (16:9 aspect ratio).
On PC
- Drag the edges of the browser while holding Shift (for proportional resizing).
- Ensure no toolbars, tabs, or extra UI are visible.
On Mac
- Drag the corners of the browser manually.
- Use Cmd + Shift + 5 to preview the recording area and adjust as needed.
Step 3: Recording Your Screen
Use the built-in screen recording tools for a quick and easy process.
Mac Users (QuickTime Player)
- Open QuickTime Player.
- Click File > New Screen Recording.
- Click Options, then:
- Microphone: None (no sound needed)
- Save To: Desktop or project folder
- Timer: None
- Show Mouse Clicks: Off
- Select Record Selected Portion and drag to only capture your website window.
- Click Record, scroll smoothly through your site, then stop recording.
PC Users (Windows Xbox Game Bar)
- Press Win + G to open the Xbox Game Bar.
- Click Start Recording.
- Scroll through your website at a smooth, steady pace.
- Click Stop Recording, then save the file.
Step 4: Naming & Uploading Your Video
- Save your video as:
Lastname_Project_1080p.mp4 - Upload it to:
P1: Mockups + Video RecordingAssignments folder on D2L.
Step 5: Cass Will Resize Videos for Display
Because you may have different window sizes, all videos will be resized before being displayed on the 49” screen. Just focus on keeping your recording clean and smooth—no need to worry about exact dimensions.
Best Practices for a Clean Video Presentation
✅ Smooth scrolling – No fast or jerky movements. ✅ No toolbars, tabs, or Webflow UI elements – Only your website should be visible. ✅ Short & clear – Keep it under 15 seconds. ✅ High-quality visuals – Avoid zooming or unnecessary window movements. ✅ Scroll and Hover – Slowing scroll down your page and hover any interactive elements to demonstrate.
By following these steps, your website video will be consistent, professional, and ready for display.
Examples:
- https://dribbble.com/shots/25121287-Woodbird-page-scroll
- https://dribbble.com/shots/23462040-Holdwork-Website-design-for-the-video-interaction-platform
- https://dribbble.com/shots/23027858-Kurate-Musical-Label-Website
- https://dribbble.com/shots/23475625-Smart-Investment-Service-Web-Design
- https://dribbble.com/shots/24211698-Kelvin-Zero-Home-Page